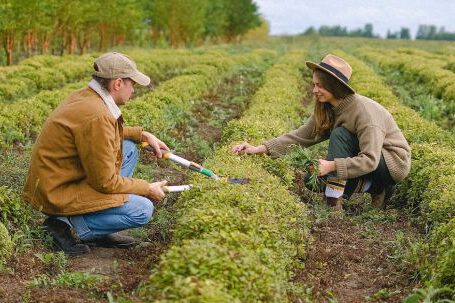

Organic gardening is gaining popularity as more and more people are becoming aware of the harmful effects of chemicals on both their health and the environment. One of the key techniques used in organic gardening is crop rotation. Crop rotation is an essential practice that helps maintain soil fertility, prevent the spread of pests and diseases, and maximize crop yields. In this article, we will explore the benefits of crop rotation and provide a step-by-step guide on how to implement it in your organic garden.
Why is Crop Rotation Important?
Crop rotation is important for several reasons. Firstly, it helps maintain soil fertility by preventing the depletion of nutrients. Different crops have different nutrient requirements, and by rotating crops, you can ensure that the soil remains balanced and healthy. Secondly, crop rotation helps break the life cycle of pests and diseases. Some pests and diseases are specific to certain plants, so by changing the crops in a particular area, you can reduce the chances of these pests and diseases recurring. Lastly, crop rotation can improve the overall yield of your garden. By rotating crops, you are giving the soil a chance to recover, reducing the risk of nutrient deficiencies and improving the health of your plants.
Step 1: Divide Your Garden into Sections
The first step in implementing crop rotation is to divide your garden into sections or beds. The size of the sections will depend on the size of your garden and the number of different crops you plan to grow. Each section will be dedicated to a specific group of crops that share similar nutrient requirements.
Step 2: Choose Your Crop Groups
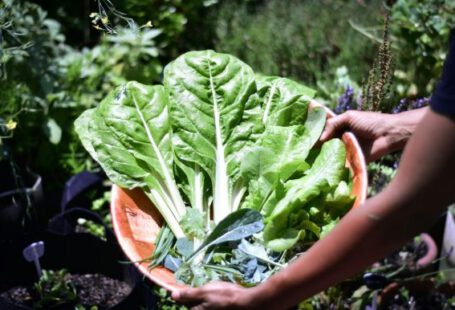
Next, you need to decide on the crop groups that you will be rotating. Generally, crops are divided into four groups: legumes, root crops, leafy greens, and fruiting crops. Legumes, such as peas and beans, fix nitrogen in the soil, making them an excellent choice for the first group. Root crops, like carrots and potatoes, are the second group. Leafy greens, including lettuce and spinach, make up the third group. Lastly, fruiting crops, such as tomatoes and peppers, are the fourth group.
Step 3: Plan Your Rotation
Once you have determined your crop groups, you can start planning your rotation. The general rule of thumb is to avoid planting crops from the same group in the same section for at least three years. This will help break the life cycle of pests and diseases. For example, if you plant legumes in section A in year one, you should plant root crops in section A in year two, leafy greens in section A in year three, and fruiting crops in section A in year four. After year four, you can start the rotation again.
Step 4: Monitor and Adjust
As with any gardening practice, it is important to monitor the health of your plants and make any necessary adjustments. If you notice any signs of nutrient deficiencies or pest infestations, you may need to make changes to your crop rotation plan. Additionally, it is important to keep a record of your crop rotations, so you can easily track which crops were planted in each section and when.
In conclusion, crop rotation is a fundamental technique in organic gardening. By implementing crop rotation, you can maintain soil fertility, prevent the spread of pests and diseases, and improve the overall yield of your garden. By following the steps outlined in this article, you can effectively use crop rotation in your organic garden and reap the benefits of healthier plants and a more sustainable garden.