
Raised vegetable patches are a fantastic way to grow your own fresh produce, even if you have limited outdoor space. Not only do they provide better drainage and soil quality, but they also make gardening more accessible by reducing the need for bending and kneeling. If you’re eager to start your own raised vegetable patch but don’t know where to begin, this article will guide you through the process and help you get started on the right foot.
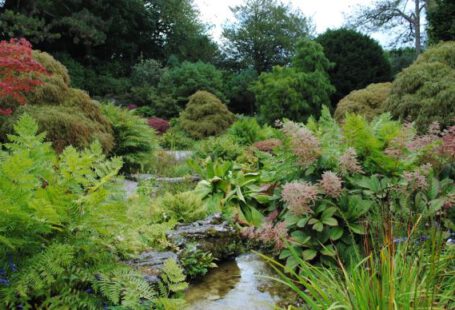
Choosing the Perfect Location
Before you start building your raised vegetable patch, you need to find the perfect location. Ideally, this spot should receive at least six hours of direct sunlight per day. Most vegetable plants thrive in sunny conditions, so it’s crucial to choose a spot that maximizes sun exposure. Additionally, consider the proximity to a water source and the accessibility of the location. You’ll want to easily reach your patch with a hose or watering can, and it should be conveniently located for regular maintenance.
Selecting the Right Materials
When it comes to building your raised vegetable patch, you have several material options to choose from. Wood is a popular choice due to its affordability and versatility. Cedar and redwood are excellent options as they are naturally resistant to rot and can last for many years. Another option is using cinder blocks, which are durable, low maintenance, and provide thermal mass to help regulate soil temperature. Whichever material you choose, make sure it is safe for growing vegetables and won’t leach harmful chemicals into the soil.
Building the Raised Bed
Once you’ve selected the materials, it’s time to build the raised bed. Start by measuring and marking the dimensions of your desired patch. Use a level to ensure the bed is even and sloped slightly away from the house to prevent water pooling. If using wood, assemble the sides and secure them with screws or nails. If using cinder blocks, arrange them in a rectangle or square shape, making sure they are level and stable. Finally, line the bottom of the bed with a layer of newspaper or cardboard to suppress weeds and prevent grass from growing up into the soil.
Preparing the Soil
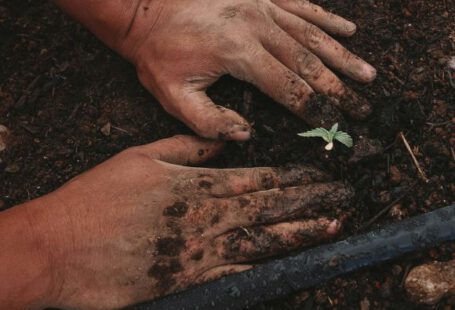
The next step is to prepare the soil for planting. Remove any existing vegetation or grass from the area inside the raised bed. Once cleared, loosen the soil with a garden fork or tiller to a depth of about 8-12 inches. This will improve drainage and allow the roots of your vegetables to penetrate easily. Mix in compost or well-rotted manure to enrich the soil and provide essential nutrients. Aim for a soil pH level between 6 and 7, which is ideal for most vegetable plants.
Choosing the Right Plants
Now comes the fun part – choosing what to grow in your raised vegetable patch! Consider the available space, sunlight, and your personal preferences when selecting plants. Start with easy-to-grow vegetables like tomatoes, lettuce, carrots, and herbs. It’s also a good idea to mix in some companion plants to deter pests or attract beneficial insects. Remember to plan your garden layout carefully, considering the spacing requirements and potential height of each plant.
Maintaining and Harvesting
Once your raised vegetable patch is planted, it’s important to maintain it properly. Regular watering, weeding, and fertilizing will help your plants thrive. Mulching around the plants can help conserve moisture, suppress weeds, and regulate soil temperature. Stay vigilant for pests and diseases, and take appropriate measures to control them. Finally, enjoy the fruits of your labor by harvesting your vegetables when they are ripe. Regular harvesting will encourage more growth and ensure a continuous supply of fresh produce.
In conclusion, starting a raised vegetable patch is an exciting and rewarding endeavor. By choosing the perfect location, selecting the right materials, building the raised bed, preparing the soil, choosing the right plants, and maintaining and harvesting your patch, you’ll be well on your way to enjoying a bountiful harvest of homegrown vegetables. So, roll up your sleeves, get your hands dirty, and start creating your own little slice of vegetable paradise!